To create a new import rule proceed as follows:
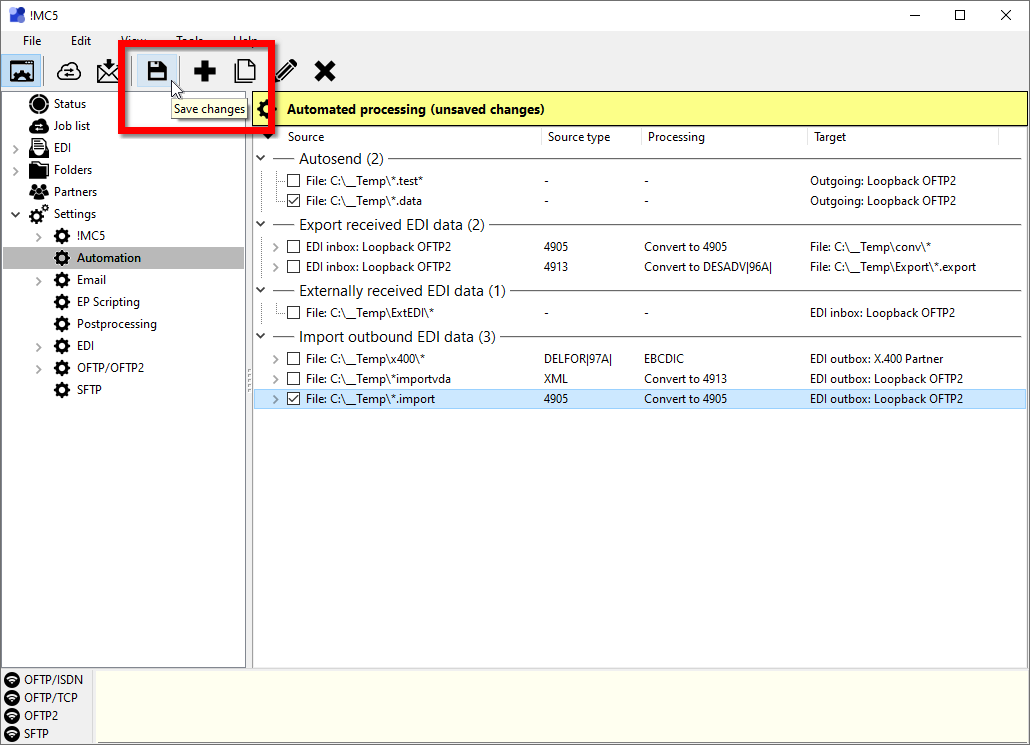
1 In the Settings section open the item Automation.
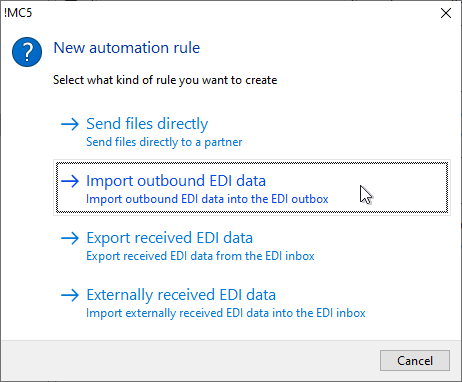
2 Click the button Create new rule in the top tool bar.

3 Click the option Import outbound EDI data.
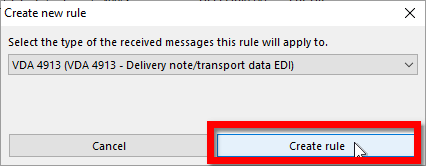
4 Next select the message type to which the rule should apply, then click the button Create rule.
5 First, specify a name for the new rule in the Rule name field and then select the partner to which imported data should be sent.

Activate EDI processing for the partner
In an import rule, you can only select partners for which EDI processing is activated (see Set up a partner for EDI processing). Therefore, before you create an import rule, activate EDI processing for the relevant partner so that it is displayed.
6 In the Source file section, specify the directory in which to search for new files and a file mask that identifies the files to be imported. The file mask can contain the characters * and ? as placeholders .* stands for any character (one or more), ? for any single character. With only * as file mask, all files in the selected directory are imported. If the data to be imported is in EBCDIC format, then activate the option File has EBCDIC format.
In addition, you can specify a filter that excludes files from the import based on their content, or edit the content of a file before the import.
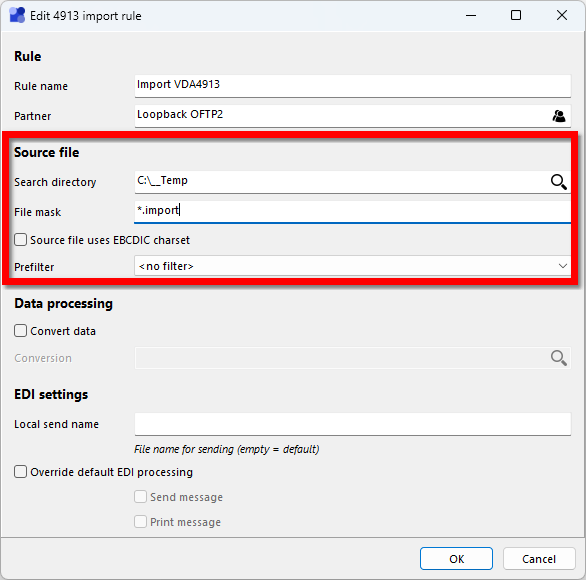
7 If the data is to be converted after the import, for example if the data is not yet in the format of the target message, then activate the Convert data option and select the desired conversion rule. Only conversion rules that have the message type selected for the import as the target type are displayed. If a ZUGFeRD message is imported, there is also the option of attaching the imported message to a PDF. This option is only displayed if a ZUGFeRD has been selected as the target type.
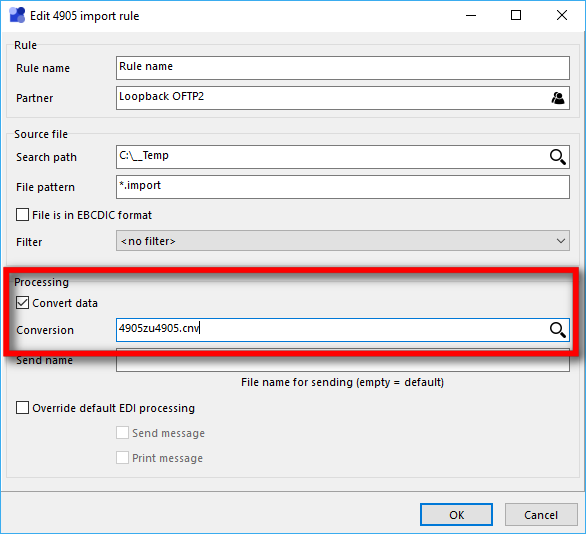
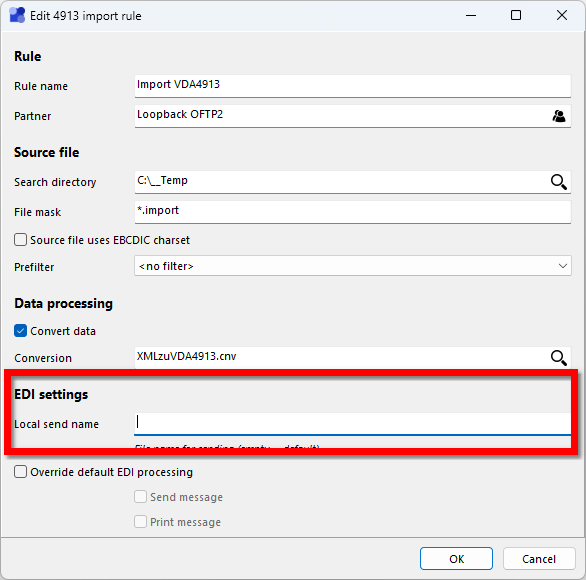
8 In the Send name field, specify the name you want to use to send the imported file. Leave the box blank to send the file with its original name. For more information about formatting options for the send name, see the Import outbound EDI data reference.
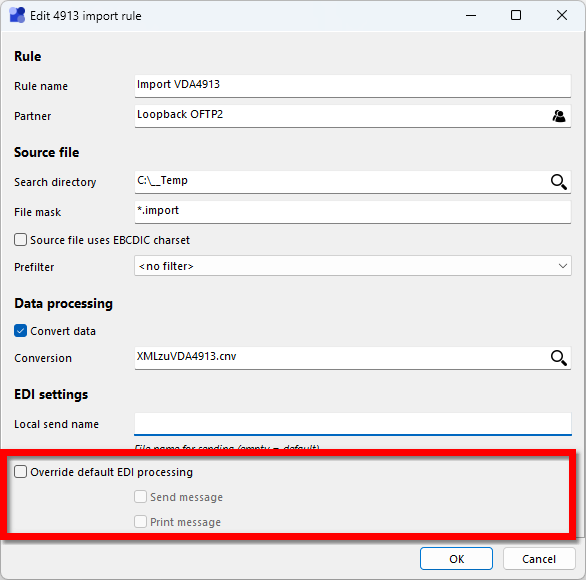
9 If the standard tasks are not to be used for messages imported via this rule, then activate the Override standard EDI processing option and then select the tasks to be applied. These settings only apply to messages imported via this rule.
10 Clicking OK saves the new rule and closes the dialog. Newly created rules are initially deactivated. To activate the rule, click the checkbox in front of the corresponding entry in the rule list so that it displays a check mark.

11 Save the changes with a click on Save changes. If the new rule is activated, matching files from the search directory will be imported to the search mask from now on.