With the help of the Email add-on, e-mails can be sent automatically as soon as files have been successfully sent or received via OFTP/OFTP2. This makes it possible, for example, to forward received files internally, to send notifications about the receipt to the corresponding clerks, or to notify a partner that data is ready for pickup. The logging including all error messages is written to the E-Mail Protocol.txt file in the log file directory. In addition, messages from the E-Mail add-on are displayed on the status page under General Messages.
1 Open the E-Mail settings under Settings / E-Mail.
2 First, the mail servers used must be entered on the Servers page: Open Access data for an internal(mail server in the local network) and an external(Internet mail server) mail server can be specified there. The internal server is used for sending e-mails to in-house addresses. The external server is used for external addresses. File attachments are only sent via the local mail server!
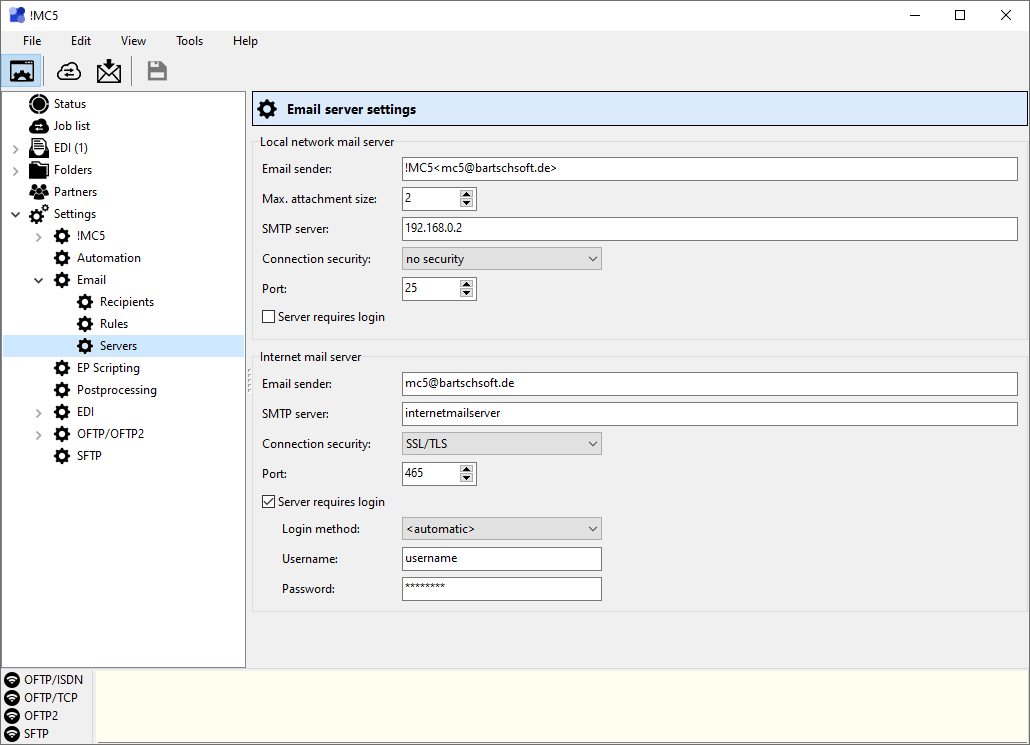
Difference between local and Internet mail server
As a local mail server, only a computer should be used which is located in the in-house network. If a server is used which is located in a public network (Internet), files with confidential information could possibly be transferred within this network without any security. This would render the secure transfer via e.g. OFTP ineffective! Therefore, such a server may only ever be entered as an Internet mail server. No file attachments are transferred via the Internet mail server, so that security remains guaranteed. If the in-house server can also send e-mails to external e-mail addresses, it can be entered both as a local and as internet server.
3 Next, you need to set up the email addresses to which notifications should be sent. To do this, open the Recipients page.

4 New addresses are created via the Add new recipient button in the toolbar (the "plus" symbol). For each address, the name of the recipient must be entered in addition to the actual email address. Under Server you can select whether the local or the internet mail server is to be used for sending emails to this recipient. Under Email address the placeholders %EngSend% and %EngRecv% can be used. These are replaced by the email addresses of the sender or recipient specified in the ENGDAT information if ENGDAT is used.

5 In order for emails to be sent, sender rules must be created. These rules determine which recipients are sent notifications for which events. To do this, first open the Rules page and then create a new sending rule via the Add new rule button in the toolbar (the "plus" symbol).
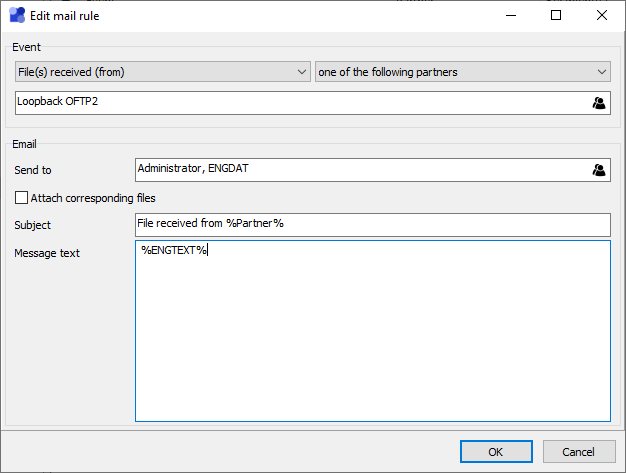
6 First, the event that triggers the notification must be selected. The following events are available:
•File(s) received (from) - Triggers when files have been received.
•File(s) sent (to) - Triggers when files have been sent.
•File(s) ready for pickup (for) - This event is intended for partners that cannot be actively connected to. After successfully creating a send request for such a partner, this event is triggered. It can then be used to notify the partner by e-mail that files are ready for him.
7 Now select for which partners or data the selected event should trigger an e-mail dispatch. The following options are available for this purpose:
•anyone but one of the following partners - The corresponding event triggers a notification to all partners except the specified partners.
•one of the following partners - The event triggers an e-mail notification only for the specified partners.
•matching the following ENGDAT pattern - The event triggers a notification only when specific ENGDAT files are received. Each ENGDAT file name contains five characters for free disposal (all other parts of the file name are determined by the ENGDAT standard). These can be specified in the input field below the selection list as selection criteria for the e-mail notification.
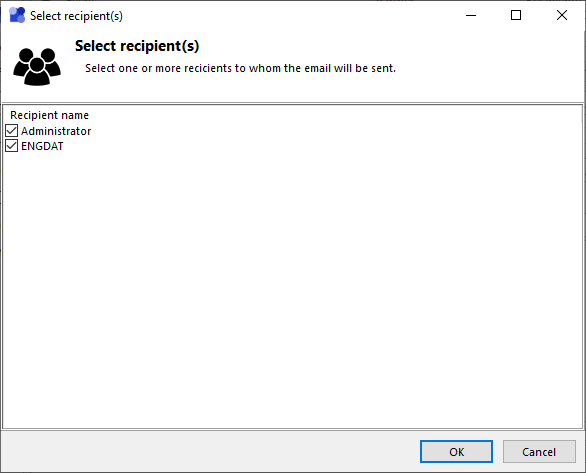
8 Now, under Send to, select the email addresses to which emails should be sent.
9 Then, under Subject,enter the text that is to be used as the subject in the generated emails. It is possibleto use the placeholder %PARTNER% here. This will be replaced by the name of the partner that triggered the event.
10 In the Message Text field, you can enter any text for the email to be sent. The following placeholders can be used in this text (lowercase/capitalization of the placeholders can be neglected). All available placeholders can also be inserted by right-clicking on them in the context menu.
•%PARTNER% - The name of the dial-up partner from the partner management.
•%LINK% - A list with the received files including path is generated. So that the recipient of the e-mail can access the files, only UNC paths should be used in the partner administration. If the inputs and outputs are located on a network drive (not locally on the Odette computer), the e-mail module automatically translates to the UNC naming convention. This option will only work within the local network.
•%FILENAMES% - This placeholder will be replaced with a list of files received or sent without a path.
•%ENGTEXT% (requires Add-On ENGDAT) - The ENGDAT abstract will be displayed in plain text.
•%ENGFILES% (requires Add-On ENGDAT) - A list of the files contained in the ENGDAT message with their original names.
•%HTTPIN% (requires Add-On HTTP Client) - Creates a link for the HTTP client. If the e-mail recipient clicks on this link, the browser opens and the inbox directory of the communication partner is displayed.
•%HTTPENGIN% (requires Add-On HTTP Client) - If the partner has sent data in ENGDAT format, a link is created for the browser. The content of the ENGDAT message is displayed and the files contained can be downloaded directly.
11 Save the new rule by clicking OK and add more rules if necessary.

12 Save the changes to the email rules and from now on, emails will be sent automatically as soon as one of the rules set up takes effect.